In the vacuum industry, Dyson is well known for making top-quality vacuum cleaners, regardless of whether or not you are a vacuum enthusiast.
In addition to its newest series of vacuum cleaners featuring Dyson’s one-of-a-kind ball technology, Dyson’s Ball Multi Floor Series is among its marvels of engineering.
Dyson Ball Multi Floor is a great vacuum cleaner under almost every condition, but in order for it to continue to work efficiently for a long period of time, it is necessary to clean it periodically.
Nevertheless, you may be wondering, how do you clean a Dyson Ball Multi Floor?
In this article, we will demonstrate how to clean the dirt container, the filter, and the brush roller of the Dyson Ball Multi Floor vacuum by breaking down every step in detail.
Are you ready?
While cleaning this vacuum cleaner, you should remember the following:
- You should always ensure the vacuum is not connected to the electrical system.
- The motors of the vacuum should not be damaged by excessive use of water.
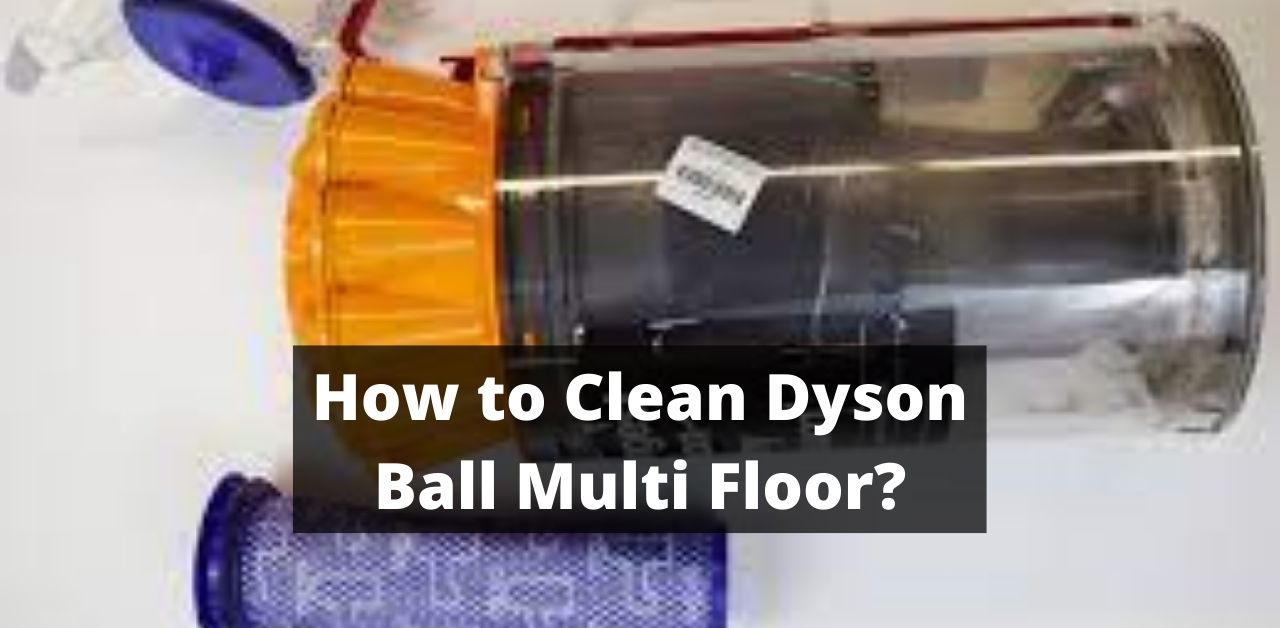
How to clean the transparent dirt container:
When the dirt level reaches the maximum level in the dirt container, it is wise to clean the dirt container for the best results possible.
If you see that the dirt has reached its maximum level, you should follow these steps:
- Now that the dirt container has been separated from the vacuum, push the red catch at the top of the handle.
- The dirt container must now be emptied into a trash bag or trash can by opening the bottom portion. This can be accomplished by pressing the red button on the vacuum.
- It is recommended to shake the dirtbag inside the container so that every bit of dirt is removed.
After the dirt is removed from the container, it can be used as a container for cleaning the inside with a damp cloth.
The outer surface of the container can be lightly rinsing with water or can be wiped with a damp cloth.
How to Clean Filters:
1. Remove the filters:
The first filter in this vacuum cleaner can be found on the front of the canister near the clip that identifies it as a filter. Open the clip, and you will be able to remove the cone-shaped filter.
The following steps should be followed in order to remove the second filter:
- You should first place the vacuum so that the blue cover faces upwards.
- You must now turn the cover anti-clockwise in order to release the filter cover.
- Turn the filter in an anti-clockwise direction after seeing the filter under the cover to remove it from the vacuum.
2. Cleaning of the filter:
The cleaner the filter, the greater the suction power, the cleaner the air exhaust is, and the more the dirt and debris will be contained within the vacuum.
You should be able to clean the two filters in this vacuum without damaging them in order to thoroughly clean the filter.
It is important to clean the filters of these vacuums regularly, i.e. once a month. You should only use cold water to clean the vacuum’s filters.
Using any type of soapy water or cleaning solution will cause the filter to deteriorate.
This vacuum’s pre-filter should be cleaned under cold water and the excess water should be squeezed out five to ten times until the water is clear.
Whereas the post-filter should be rinsed thoroughly with water. Lastly, the filters should be allowed to dry out in a warm and dry environment.
3. Dry the filters:
When it comes to drying, you should not take any shortcuts. It is simply illogical to put filters into a microwave, a dryer, or over an open flame in order to speed up drying.
Always ensure that you rinse off the excess water and place the items on a flat, dry surface when drying.
To achieve the best result, it is recommended that you allow the vacuums to dry for at least 24 hours before re-installing the filter into the microwave.
4) Replacement of the filter:
You can easily reinstall the premotor filter or the first filter. It is advisable to first open the filter section of the dirt container, put the filter back on, and then secure the filter with the filter cap.
First, place the post-motor filter in the filter housing located in the ball. Then, turn the filter clockwise to secure it.
Similarly, secure the blue cover by turning it clockwise until you hear a click sound.
Clean the roller brush as follows:
In order to clean the Dyson Ball Multi Floor roller brush, you must first remove it from the vacuum.
It is necessary to locate the half-round red clip around the head of the Dyson Ball Multi Floor before removing the roller head.
After you remove that red clip, the roller brush is now completely exposed.
Since the roller brush has now been exposed completely, cut away the hairs entangled in debris trapped within it with a pair of sharp scissors.
Please ensure that the brush bristles are not cut when removing the hair from the roller.
By carefully pulling out the debris from the roller head with your hand, you are able to remove it from the system. (We recommend using gloves.)
When the roller head is exposed, you can inspect the hose for any blockages and remove them. In order to reassemble the roller brush in the vacuum, you need to first put the red clip on it.
The procedure for cleaning both the Dyson Ball Multi Floor 2 and the Dyson Ball Multi Floor is the same.
The following concludes our response to your question, “How to Clean Dyson Ball Multi Floor?”.
In conclusion:
A Dyson Ball Multi Floor might be a little costly right now, but you will be holding a vacuum with beastly power and functionality in your hands.
The performance of even the beast will deteriorate without regular maintenance.
Therefore, if you refer to our article titled “How to Clean Dyson Ball Multi Floor?“, you can easily maintain the vacuum and get the most out of the vacuum even after years of continued use.


