Whether you believe it or not, the vacuum cleaner belt is the weak link. No matter how expensive a vacuum cleaner is, after a couple of years of rigorous use, the belt is sure to wear out.
Over the years, we have tested many vacuum cleaners, and every single one of them experienced belt problems.
Damaged belts can result in loss of suction, failure of brush rollers to spin, or permanent damage to your vacuum cleaner.
Well, if your vacuum suddenly ceases to function or loses suction, you now know the cause.
The only way to remedy the problem is to replace the belt, so please read this article to the very end.
We are trustworthy. Moreover, we are professionals with extensive experience. Our company has been in the vacuum cleaner manufacturing industry for over five years.
On the internet, you will probably find the best advice, DIY fixes, and guides on vacuum cleaners in our articles.
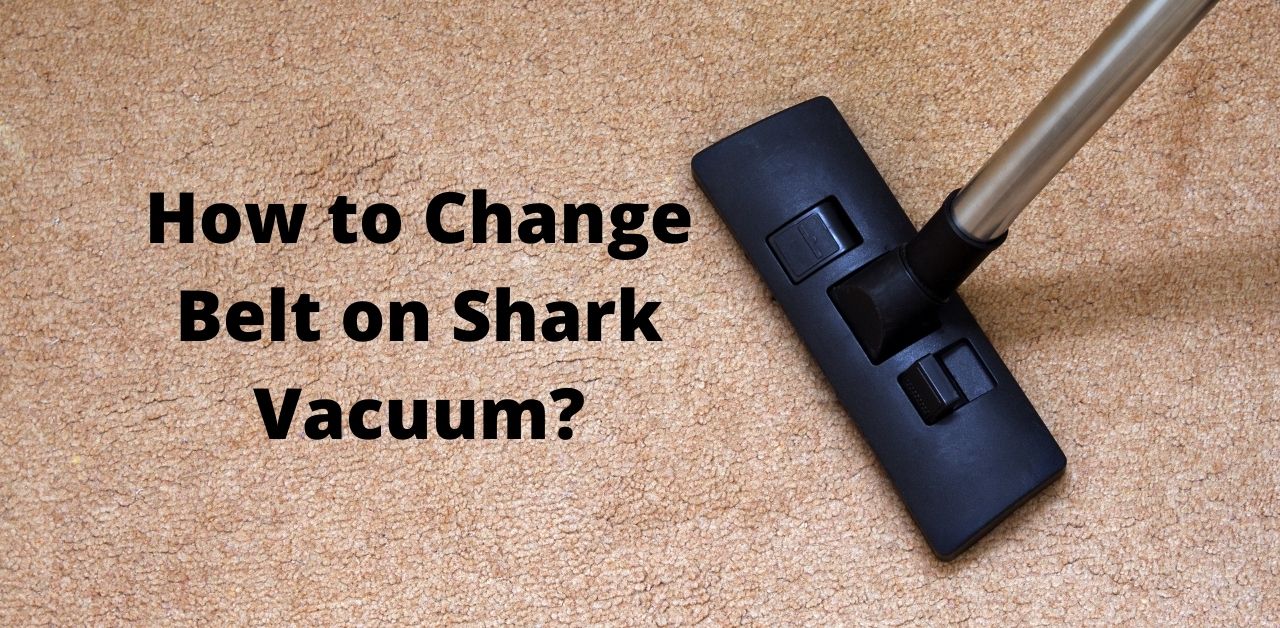
It is our goal to provide you with the most honest and unbiased reviews possible. In the meantime, let us focus on changing the belt on a Shark vacuum cleaner
You read that correctly. Throughout this article, we will discuss how to replace the belt on a Shark vacuum cleaner.
The use of the Shark vacuum cleaner as a template for these instructions is quite brilliant since you can easily apply them to other vacuum cleaners. A few minor adjustments may be necessary.
However, the instructions are largely the same.
Things You Need To Change Belt On Shark Vacuum Cleaner
Before beginning, make sure you have the necessary tools and equipment. When you need them, you will not have to run around looking for them.
It is important not to panic if something does not go as planned. We are all prone to making mistakes, so remember that everyone makes them.
- Introducing the new Shark Belt
- featuring a Phillips screwdriver
- plus pliers (optional)
- Container (to hold screws)
Time Estimate
Changing the belt on your Shark vacuum cleaner will take you between 20 and 30 minutes.
The process will take longer if you have forgotten something or encounter a difficulty that requires you to work around it.
The length of time required will vary according to the individual. Following our step-by-step instructions on how to change the belt on a Shark vacuum should not take you longer than 30 minutes.
Step By Step Procedure To Change Belt On Shark Vacuum Cleaner
1. Turn off the vacuum cleaner’s power supply
Prior to working on your vacuum cleaner, you should always disconnect it from the power source.
Even during casual maintenance, it is always a good idea to disconnect the power supply to the vacuum cleaner.
The vacuum cleaner should be turned off. Additionally, ensure that the power cord is not plugged into the outlet.
As a result, the possibility of electric shock will be eliminated, which can be fatal. It is a bad idea not to unplug your vacuum cleaner before working on it, even though most modern vacuum cleaners have a failsafe for these kinds of issues.
When performing maintenance, ensure that the power source is disconnected. Safety first!
2. Detach the wheels
The Shark vacuum cleaner should be placed flat on the ground. It should now be possible to see the small rubber wheels that protrude from the base plate.
They tend to be fairly securely attached to the base plate. A metal spudger can be used to gently pry them off with ease. Removing them should not be difficult.
The screws holding the wheels in place are the only exception. Phillips screwdrivers are required for their removal.
Start making notes about where the screws go at this point. Also, a container should be used to store all small parts and screws.
3. Disconnect the bottom plate
To remove the screws on the bottom plate of your Shark vacuum, once again use the Phillips screwdriver to remove them.
You will need to remove between four and eight screws, depending on your model. When the screws have been removed, lift the bottom plate cover out of the holder.
You may find extra screws under the hose connection depending on the model of your Shark vacuum cleaner.
You can check by pressing the tabs on the middle of the panel and pulling it off. A hose connection will become visible.
The bottom plate should be removed by removing any screws holding it in place. This completes the process.
4. Disconnect the brush roller
By now, you will be able to see all the working parts inside the Shark vacuum cleaner head.
There is still a bit of cleaning to be done before reaching the belt. You only need to replace one component between you and your Shark vacuum cleaner belt, which is the brush roller.
Pull up on the front cover of the brush roller and move it to one side. You may find a pin or wire attached to the base, depending on your model.
Pull up the holding pin and gently squeeze it to release the wire.
Using the Phillips screwdriver, remove the two screws holding the brush cover after the wire has been detached and detached from the brush.
Raise the cover. Take the brush roll by both ends and slowly remove it from the cover.
Avoid pulling the brush roll. As you would change a remote battery, take out one side at a time.
5. Disconnect the brush roller from the belt
It is necessary to remove the brush roller and motor belt. Examine the belt carefully for damage, and if any are discovered, a new belt should be installed.
Maintain a list of which components go where and in what order. Be confident.
6. Set up the new Shark Belt
Install the new Shark vacuum cleaner belt in the same manner as you removed the old one.
As you are installing the new Shark vacuum cleaner belt, be careful not to mess up the order. Reverse the order.
The brush roller will come first, followed by its cover, the wire, and so on. Continue to reverse all steps until the vacuum headcovers and wheels are still in place.
7. Replace the cover
Do not overlook any screws when reinstalling the cover and wheels. All components must be tightly secured.
Ensure that nothing has been overlooked. Are you satisfied with the work? Start the engine! The vehicle should operate as it should.
The steps are available here if you missed anything. If you made an error, you can always reverse it. No problem!
Tips to prevent damaging your Shark vacuum cleaner belt
In order to protect your Shark vacuum cleaner belt from damage, here are some tips for the overachievers:
- Regularly maintain your Shark vacuum cleaner.
- Replacing damaged or malfunctioning parts with genuine items is recommended.
- Shark vacuum cleaners should be stored in a dry, ventilated area.
- After cleaning intensely, allow the motor to cool down.
FAQs
Is it necessary to replace the belt on a Shark vacuum cleaner?
Keep an eye on the belt from time to time. You should replace it immediately if it has been damaged or has begun to show signs of wear.
The belt on your Shark vacuum cleaner should be changed every three to four months in order to maintain its optimal performance.
The frequency with which your vacuum cleaner belt needs to be replaced varies based on how often it is used. As a general rule, replacing a belt every six months will also suffice for an American.
Is it possible to damage the belt of a Shark vacuum cleaner when it is used to clean pet hair?
Since quite some time now, this myth has been circulating. It has been suggested that cleaning up pet messes damages the vacuum cleaner belt or even the vacuum itself, but this is not the case.
No risk exists in using your vacuum cleaner to remove pet hair, even if it was not designed for that purpose. Unfortunately, you will encounter a great deal of clogging.
Otherwise, a Shark vacuum cleaner’s belt cannot be damaged by the removal of pet hair.


