Have you noticed that your Dyson has been acting strangely lately? The battery is the most likely cause of this.
We’ll go over all of the scenarios that could cause the battery to malfunction in this article.
Dysons products, particularly its vacuum cleaners, are often regarded as the best and most popular on the market, yet even the greatest can fall short on occasion.
We agree that there are some drawbacks to owning a Dyson, but they pale in contrast to the benefits.
Nonetheless, millions of families have chosen Dyson and will continue to do so in the future.
Throughout this essay, we will do our best to cover everything and aid you. Let’s not waste any time and get right to the point of finding and resolving the issue.
What You Need
- A Dyson Vacuum
- New authentic Dyson Battery
- Safety gloves
- A toolkit
Time that is required
It will take you approximately 10-20 minutes to thoroughly inspect and address the battery issue.
This involves the vacuum’s disassembly, replacement, and reassembly. It shouldn’t be a chore for you because we’ll be with you every step of the way.
How to Tell If Your Dyson Is In Need Of A New Battery
Every Dyson vacuum with a battery features 12 LED lights that light up/flash in various colours to indicate the battery’s health.
If you read your Dyson’s user manual, you should find a detailed explanation of what each light up/flashing represents.
For those who don’t like reading user manuals, we’ve included some simplified explanations of what the LED lights indicate below.
During the charging process
A solid blue light indicates that the vacuum is charging and that there are no problems.
A flashing blue light indicates that the vacuum is not charging properly and that you should replace the charger or try a different socket. If it does not go away on its own, you will require professional assistance.
Turn out the lights: The charging process is now complete.
Solid yellow light: The vacuum is not charging at all, indicating that the battery may be having some minor troubles. This issue can also be caused by temporary malfunctions.
A flashing red light indicates that the battery is having major problems and should be repaired by a professional.
As it is being used
- There is no problem with the vacuum when it has a solid blue light.
- A flashing blue light indicates that the vacuum is out of power and needs to be recharged.
- A flashing yellow light indicates that there is no power failure or temporary fault with the vacuum.
- A solid yellow light indicates that the vacuum is not charging or experiencing a temporary fault.
- Flashing red light: There are some serious issues with the battery and it will require the assistance of an expert.
It is reasonable to consider the flashing red light to be a sign of danger, implying that the battery is experiencing serious difficulties.
Depending on how many of the 12 LED lights flash, you can determine the severity of the problem.
If all 12 are flashing, it is a major red flag for the battery. To resolve the issue if all 12 LED lights are flashing red, Dyson recommends that you call for professional assistance.
The decrease in your Dyson’s normal run time might be another less known, but very common sign that the battery needs to be replaced.
Models such as the V6 and V7 should have a normal runtime of 20-30 minutes, and if the runtime is less than that, then the battery needs to be replaced.
In contrast, models such as the Dyson V8, V10, and V11 have a longer runtime, which makes the gradual decrease in running time less noticeable.
That is why it is important to check and compare the runtime of your Dyson in MAX mode every few months due to the fact that it is better to be safe than sorry.
Do you believe you have identified and solved the problem? Well done! In the event that the battery does need to be replaced, we will provide you with step-by-step instructions on how to replace the battery.
Here are the steps to changing the battery of a Dyson vacuum
1. Verify that everything is turned off and secure
Before performing any maintenance, it is essential that the vacuum be turned off and unplugged.
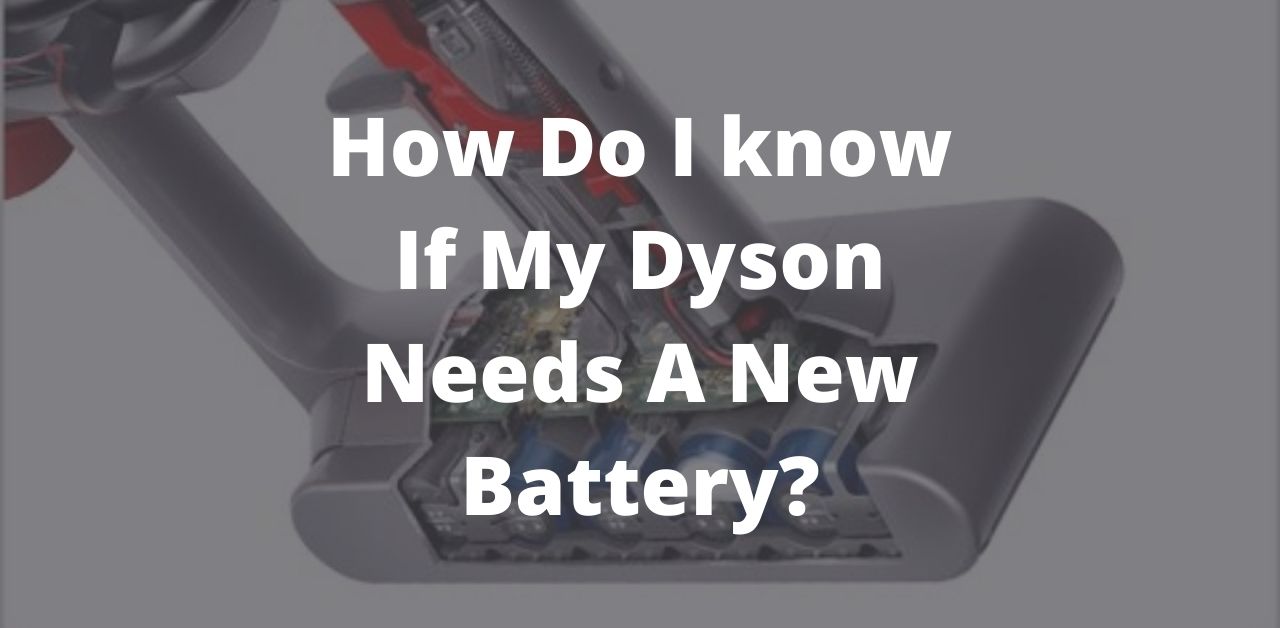
2. Release the bin by opening it and closing it
You can open the bin by pressing the red release button, and then press it again to release it from the cyclone, revealing the battery which is firmly attached with two Phillips screws.
The battery itself contains two holes, one on the backside of the handle and one on the bottom.
3. Take out the screws
Start by removing the screw from the rear of the handle. Secondly, place the vacuum on a soft surface so you can remove the screw from the underside of the battery.
Be sure to dispose of any old components in accordance with local codes and regulations. The new assembly will consist of a battery and two Phillips screws.
4. Connect the new battery
Ensure that the new battery is properly inserted into the handle by clicking it into place. The screw provided should be used to secure the battery in place.
5. Disassemble and reassemble the vacuum
Last but not least, the bin must be refilled. Close the bin base by clicking the tab located on the bin front (near the bin inlet) and the tab should appear on the front of the bin.
Prior to turning on the vacuum, make sure everything is securely fastened.
It should be noted that a new battery will only be partially charged and will need to be fully charged before use.
The Following Tips Can Help You To Extend The Battery Life
During our tests of different means of prolonging the battery life of vacuum cleaners, we stumbled upon a few amazing tips and tricks that we would like to share with you.
The following are a few of those amazing tips to prolong the life of your vacuum by nearly double.
- To avoid the battery from dying, ensure that the vacuum is fully charged before use.
- Choose the correct cleaning mode according to the task to avoid wasting energy.
- It is not recommended to force your vacuum if the battery is low on power, as this would result in a premature battery failure.
- In a well-ventilated area, you should store the vacuum at room temperature.
- Make sure your vacuum filter and container are cleaned regularly to prevent any potential strain on the battery’s functionality.
FAQs
Is it necessary to replace Dyson batteries after a certain length of time?
Dyson vacuum cleaners utilize lithium-ion batteries, which are lightweight and yet powerful. Even a good battery will eventually degrade since it is subject to degradation over time.
Normally, Dyson batteries last for approximately two years when handled with care.
What is the recommended charging time for my Dyson?
The most common misconception regarding batteries is that leaving a battery to charge for a long period of time might harm it.
However, in the case of Dyson vacuum cleaners, the smart charger will cease to be powered once the battery has been fully recharged. The vacuum can thus be continuously charged.
Does the warranty cover the batteries?
A Dyson vacuum comes with a limited 2-year warranty which covers all parts of the vacuum, including the batteries. The battery may be replaced for free if your machine is within its warranty period.
Are third-party batteries compatible with Dyson vacuums?
You can find many knockoff Dyson vacuum cleaner batteries that appear to be compatible but are not.
Battery replacements from third parties will not only cause your vacuum to malfunction, but will also rip you off on your money.
So, third-party batteries are not recommended for use in Dyson vacuums.


